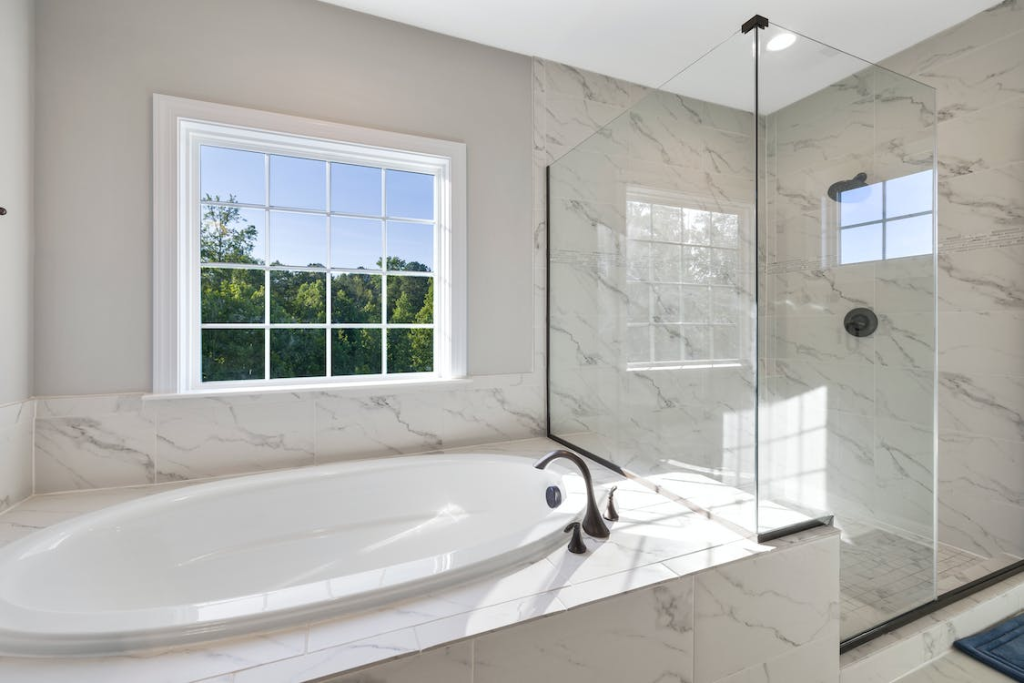
Bathroom remodeling projects can be overwhelming, especially when it comes to choosing the right shower door. For a cost-effective and stress-free installation, this guide will provide some useful tips.
By the end of this guide, you will be able to choose an ideal spot for the shower, ensure a waterproof installation, pick the most suitable layout, and prevent any additional expenses.
Considering the Shower Shape
This is the most important factor to consider before a shower door installation. When remodeling your bathroom, you’ll have some flexibility in choosing the shower shape. That’s because different showers are designed for different spaces. However, if you’re just getting a replacement, you’ll have to opt for the same shape. Some of the popular shapes include:
- Single shower door – fit smaller shower spaces
- Door and panel – designed for a slightly larger space
- 90° corner shower – for a small space where two sides feature glass panels
- Neo angle shower – for a larger corner space, giving a diamond shape
- Custom shower – give a larger diamond shape and can be customized to fit in larger corner spaces
Choose an Angle
A shower door construction features 90°, 135°, or 180° angles. Shower hardware is typically designed to incorporate these angles, so planning a shower accordingly will give you a more functional enclosure. Based on these angles, shower doors are of three types:
- Inline shower – the position of the shower glass is in line with the adjacent wall. The design prevents water from leaking out into the dry space. Both hinged and sliding shower doors can be installed in an inline shower
- 90°corner shower – two sides of the shower enclosure are tiled, while the other two feature tempered glass. All glass panels form an angle of 90°
- Neo angle shower – a corner shower door featuring two wall enclosures and three glass sides, creating a diamond shape. It’s a corner shower door with its front corner sliced off
Assess the Shower Door Opening
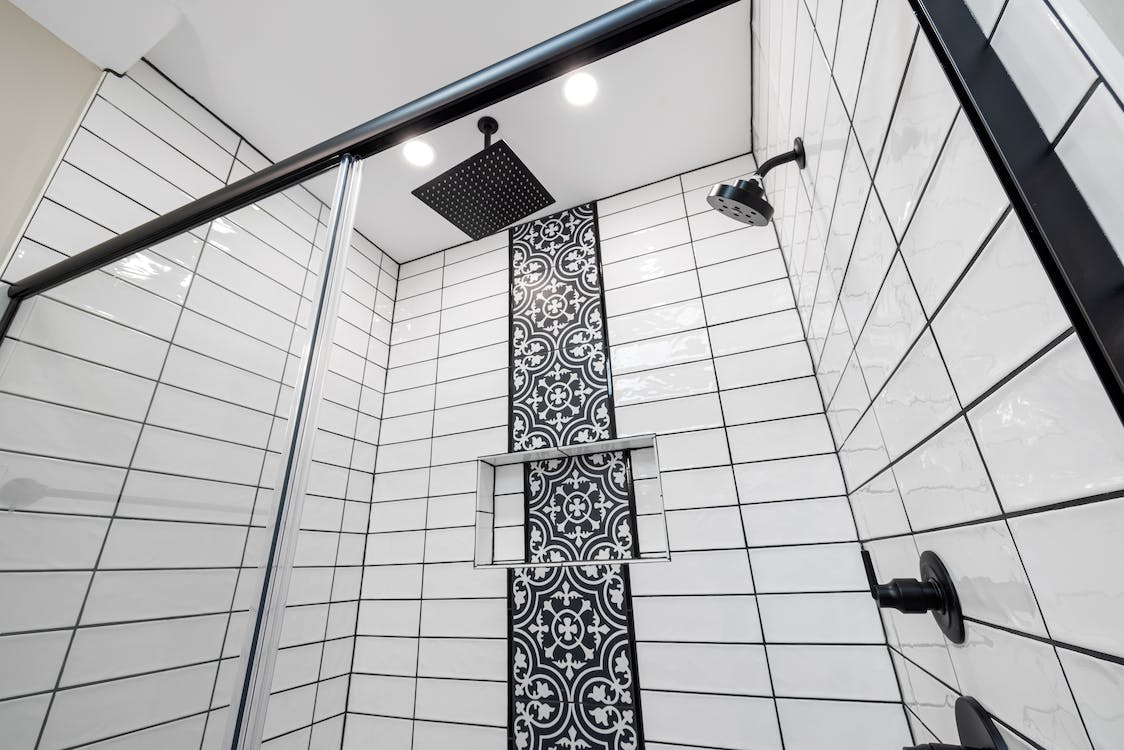
Assess the dimensions of the shower door’s opening. The standard size of the shower door is 22-36 inches. A shower door opening wider than 36-inches needs an additional glass door panel designed for wider openings.
According to Building Code requirements, hinged shower doors must be designed to open outwards. So make sure that the door opening has no obstacles, such as a vanity or toilet, that will prevent the door from opening outward.
Sliding doors require no floor space for opening and closing, so they’re an ideal choice for wider openings. Pivot shower doors are suitable for openings that are too narrow and can’t accommodate a sliding model.
Moreover, round shower doors either open through sliding bypass operation or feature a hinged opening. This design reduces the shower footprint.
Neo-angle shower doors consume less floor as compared to a rectangular design. You can also find some models with reversible doors for right or left entry.
When it comes to barrier-free showers, they have a fixed glass panel beside the shower head. They feature an open, no-door design, and the opening is usually wider than a conventional shower door. This ensures easier access for family members with special mobility requirements.
Measure the Shower Door Dimensions
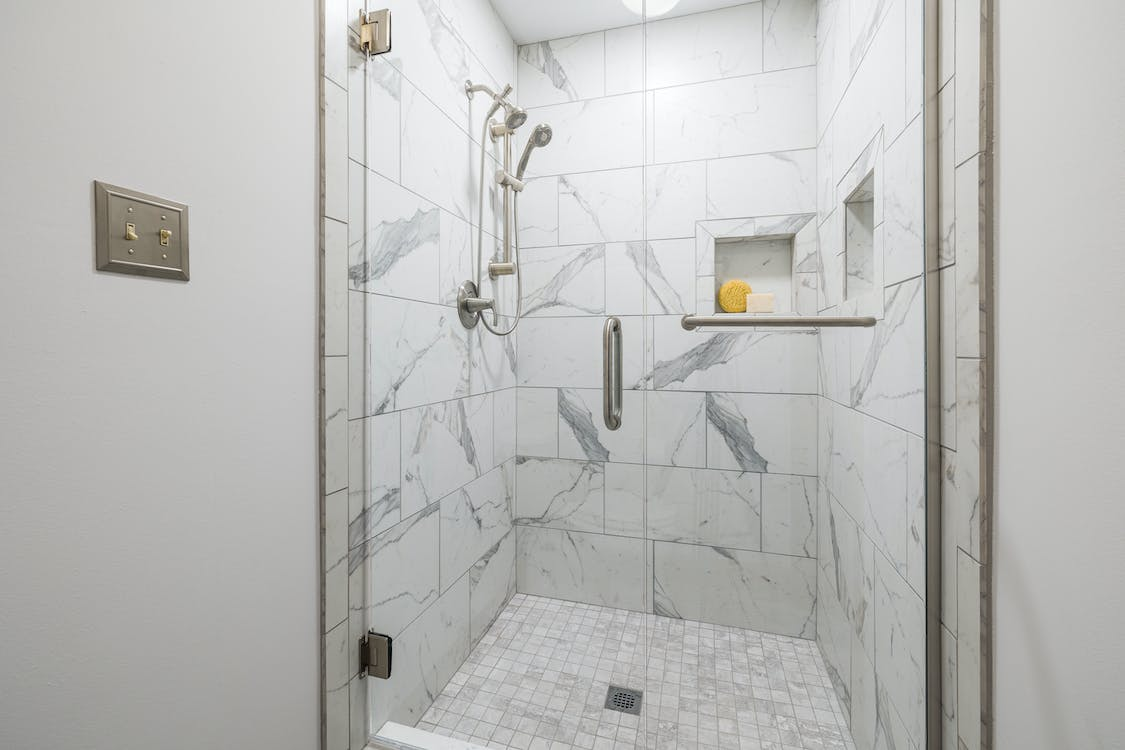
Accurate measuring is the key to ensuring a proper fit for any type of shower door. In most cases, shower doors can be slightly adjusted to accommodate a range of openings and fit imperfect walls. The door you choose must closely match the width and height of the enclosure.
If you’re having your shower enclosure constructed from scratch, you don’t need to take any measurements until the space is complete and the walls are done. Remember that the wall’s material, such as tile and backer board, will minimize the wall-to-wall width by at least 1-inch on every side. Here are some steps to follow for accurate measuring:
- Measure the width of the opening – to do this, determine the wall-to-wall distance at the opening’s top and bottom. Make sure that the measurements are nearest to the 1/16- inch. For differing measurements, opt for a door using more width to fit a bypass door. You can opt for a smaller width to install a pivot door.
- Measure the opening’s height – from the shower base or tub edge to the top of the tile wall or wall unit where the door should be located. On both sides, measure vertically and ensure the measurements are nearest to the 1/16- inch. The door’s height should be equal to or less than the smallest of the measurements.
- Single-panel doors are usually 36 inches wide or less. If you have a larger opening, choose a door with a fixed inline panel.
- To ensure that pivot doors open without obstructions, your installation professional will leave enough room inside and outside. Measure the door’s width and hold the tape’s end where the hinge will be located. Pivot the other end to determine whether the opening has the required clearance.
Bathroom With or Without a Curb?
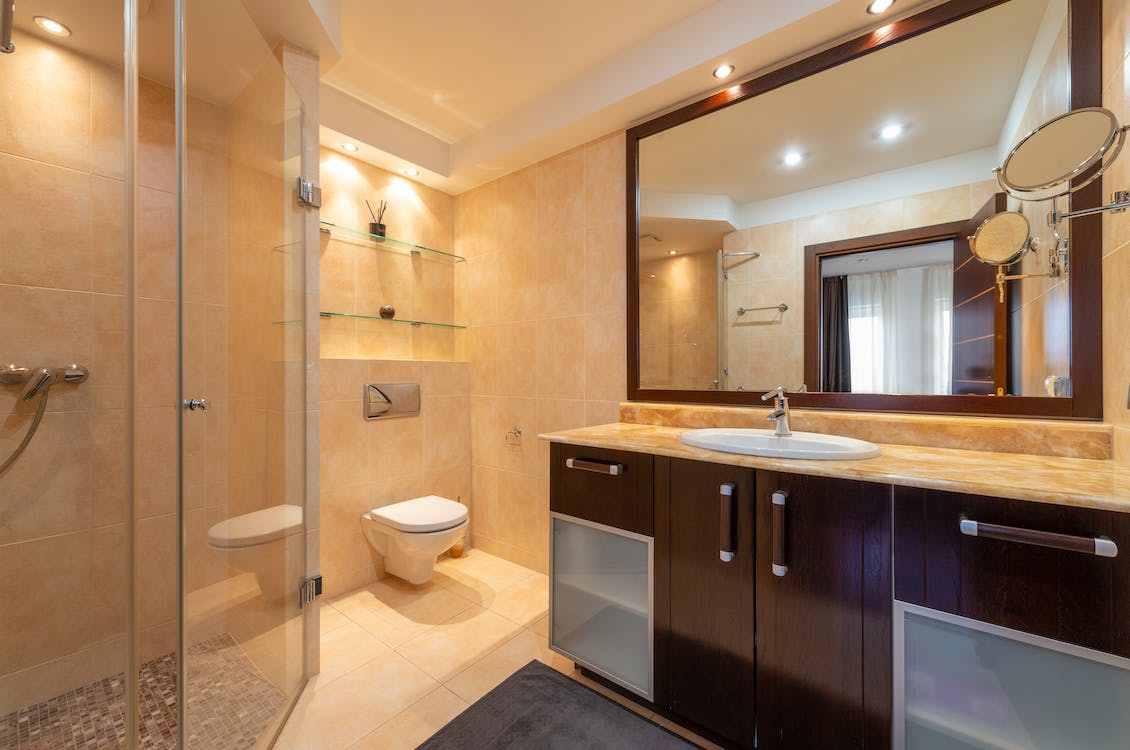
Your shower enclosure can either be installed on a curb or without one. If a family member needs a walker to enter the shower enclosure, you can design the space without a curb. That’s because a curb will make it more difficult for them to step over. But remember that a curb helps prevent water from pooling or leaking onto the floor.
Your installation professional will ensure there’s plenty of area inside the shower enclosure to accommodate the maximum flow of water generated by the shower.
You must also pay attention to the floor outside the unit that’s not sloped. For example, if the floor outside the frameless door is also sloped, the sweep installed on the door’s bottom will bind, making it harder to open.
In some cases, you can place a curb dam made from rubber on the floor right under the door. This will not only seal the door but also eliminate dragging on a curbless application.
Transom or Steam Showers
A transom is a glass panel that has hinges on either side. It’s used to close the space at the top of the enclosure. This makes the shower flush with your ceiling to control the moisture level and temperature in the steam shower. As you open the transom, the moisture and heat are let out of the enclosure, which helps cool the unit. When closed, it retains heat and moisture, creating steam.
The transom should not come into contact with any other feature installed on the ceiling as it swings open. If a vent, light fixture, or exhaust fan is placed in the way of a swinging door, the shower enclosure will need a transom to give the shower door clearance.
Homeowners who want a frameless shower from the floor to the ceiling may also need this feature to complete the design. In this case, the installation depends on the height of the ceiling and the shower door’s weight limit.
Moreover, pivot doors that don’t extend to the ceiling can be mounted to a glass transom. To avoid a framed look for the header, homeowners can get in touch with their glass contractor to revise their design to add a glass transom.
Install Knee Walls
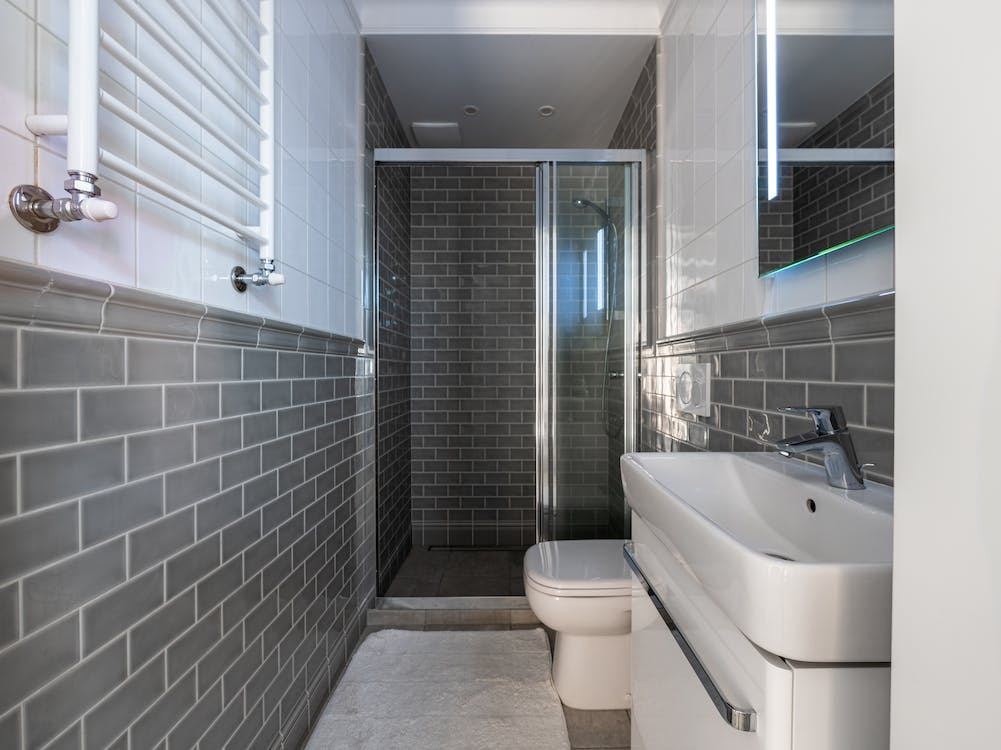
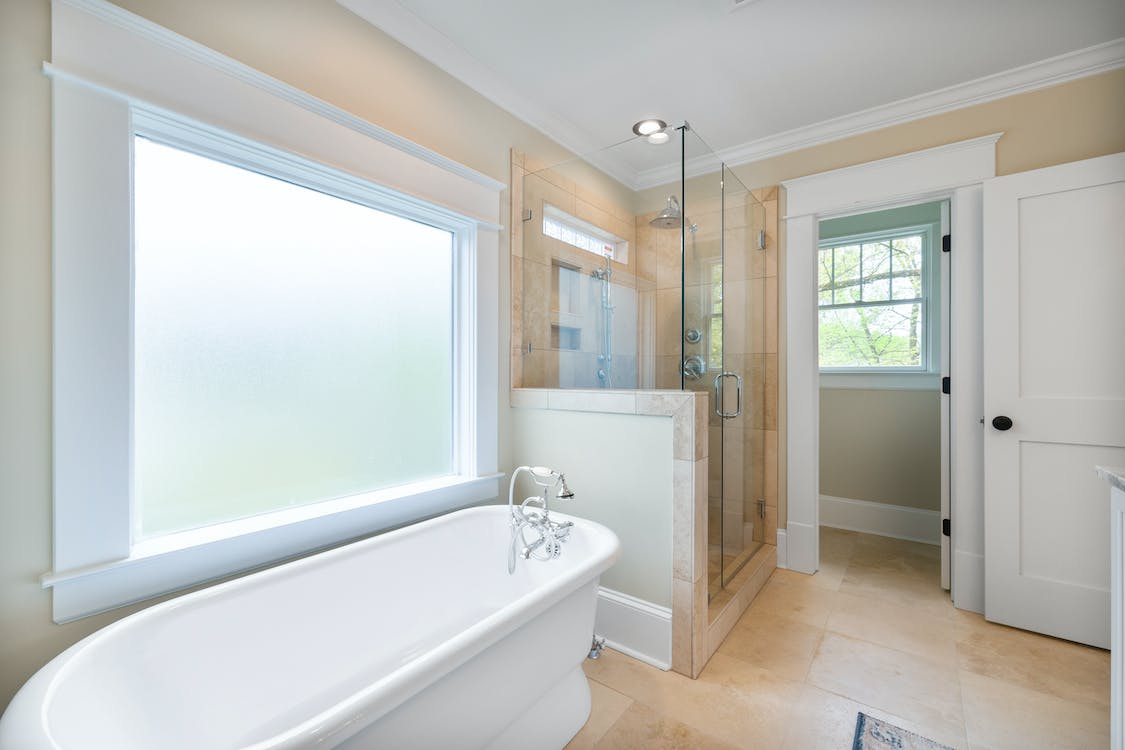
Knee walls are installed to improve functionality or the aesthetics of your shower space. This feature incorporates a partition wall or half-wall, extending from the shower floor to a height of nearly 3 feet. You can have them constructed as a bathtub extension or up against the shower stall. The top of the knee wall is made of a glass panel.
Constructing a knee wall begins with taking some measurements. Make sure you have a clear bathroom plan or a drawing of the layout and design. Without proper dimensions, you may end up dealing with several installation issues, leading to an imperfect knee wall.
Sheathing, masonry, or wood framing are commonly used materials in traditional knee walls. Constructing these walls usually takes longer as it involves extensive preparation before setting the tile. The procedure also requires specialized products and supplies to ensure a quality finish.
When adding a knee wall, consider including an inline panel to modify the stationary panel and accommodate the knee wall rather than modifying the door. If you want a knee wall in a neo-angle shower enclosure, the shower door should meet the structure at an angle of 90° to accurately fix the hinges. However, this won’t be a restriction when two glass panels meet at an angle of 135°.
A knee wall adds more privacy to your bathroom space, cuts down on your glass panel costs, and offers more functionality. A knee wall can be incorporated into any bathroom design and shower layout. Remember that the shower door installed with the knee wall should be 22-36 inches wide.
Pay Attention to Plumb Walls
Walls meeting the glass panel or door must be perfectly vertical – plumb. This helps prevent uneven joints and gaps. So the wall must not be bellied or bowed or bend in any direction. Walls that are slightly out of the plumb will make shower enclosure installation more difficult. That’s because these unsightly gaps will not only leak but are also likely to hinge bind.
Walls with a deviation of less than 1.4 inches can easily accommodate a shower enclosure. The glass technician will first test the bathroom walls, ceiling, and floor by using a six-foot level to ensure an airtight enclosure.
According to glass contractors, approximately 75% of bathrooms do not have straight walls. For imperfect walls, they will cut the glass so it can lie against the wall properly.
Decide on Shower Glass Thickness
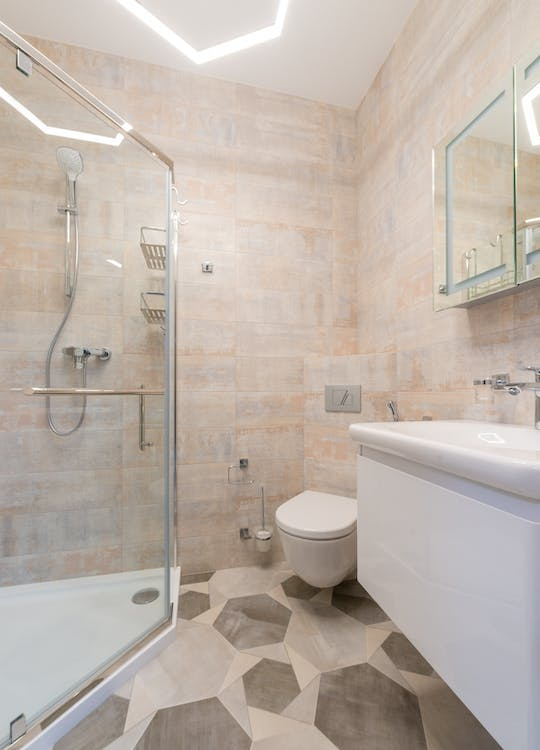
Shower glass thickness varies, affecting the weight of glass panels. According to shower glass contractors, there are two thickness options – 3/8” and ½.” 3/8” is the minimum thickness required for the glass door stability and soundness. Moreover, it’s much less expensive than thicker glass.
Though thicker glass panels give your bathroom space a more visually appealing look, they will need stronger hardware during installation for improved support. Glass experts also recommend that homeowners opt for tempered glass for their shower enclosures as they break into small, dull pieces rather than sharp, dangerous shards.
Choose Shower Enclosure Hardware Wisely
With several hardware options, shower enclosures are found in various finishes – oi, chrome, matte black, and brushed nickel. When it comes to shower door hinges, you can find them in two main styles – round corners and beveled edges, and square corners and edges.
A broad range of handle options is also available for your shower enclosure in the market. Your shower door installation professional will guide you on which handle is the most suitable for improved functionality and aesthetics.
Besides hinges and handles, shower enclosures also feature robe hooks and towel bars. Make sure you choose the right fixture and its position in the enclosure before the glass doors are installed.
Partner with a Trusted Glass Company
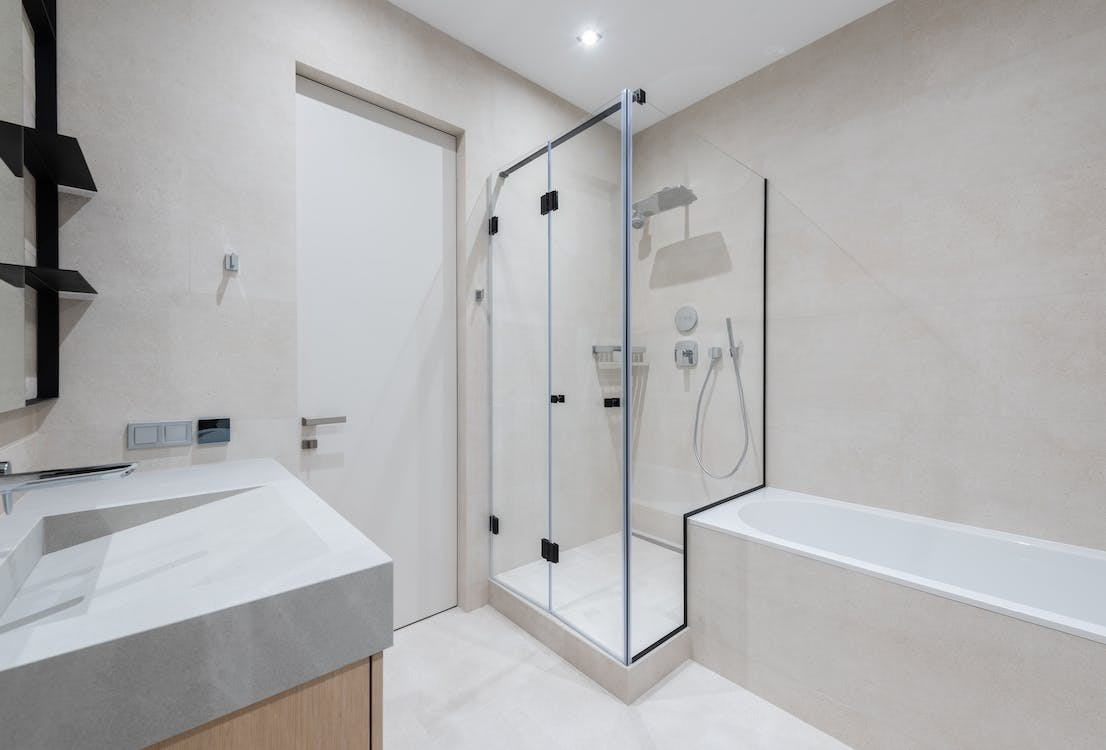
Understanding these useful glass shower enclosure construction tips will help simplify your bathroom renovation project. Basic construction requirements are the same for every shower enclosure. However, for some models, installation can be a bit complicated. The right shower door company can help you find the ideal shower enclosure for your bathroom and ensure hassle-free construction.
Reach out to our shower door professionals at Shower Doors of Austin for further guidance on glass shower door design and construction. We’re a leading shower door company with decades of experience in interior glass installation. We also offer services such as shower door installation, shower door replacement, the fabrication of frameless shower glass doors, and more.
We will first assess your bathroom’s layout, design, and all the above-mentioned factors before starting with the construction procedure.
Moreover, the leading glass company in Austin also specializes in custom glass solutions, custom mirrors, custom glass table tops, and more to help homeowners improve the interior of their homes or office.
Click here to learn about our services or contact us to request a free quote on the services you need!

